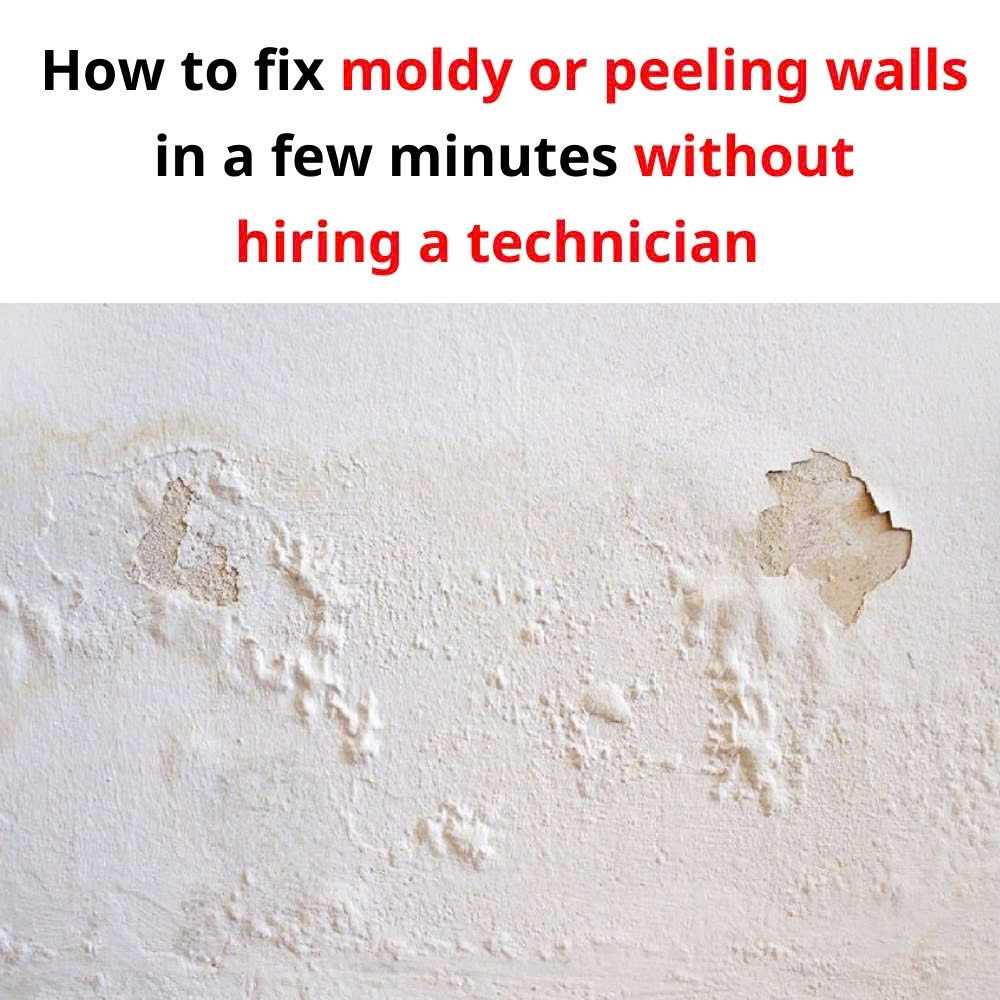
Over time, walls can develop unsightly issues like mold, blistering, or peeling paint. These problems often worsen during humid or rainy seasons and can affect both the appearance of your home and the health of your family. While calling a professional might seem like the best option, many of these problems can be tackled on your own with a little time, effort, and the right tools.
Here’s a step-by-step guide to help you fix moldy, blistered, or peeling walls and restore your home’s beauty without breaking the bank.

1. How to Treat Moldy Walls
Mold not only creates ugly dark patches but can also trigger allergies and respiratory problems. Here’s how to deal with it effectively:
Step 1: Remove Visible Mold
- Use a dry toothbrush or a stiff brush to gently scrub off the visible mold spots.
- Take a soft cloth soaked in alcohol and wipe the area to ensure it’s dry and prevent mold from spreading further.
Step 2: Apply a Bleach Solution
- Mix bleach and water in a 1:99 ratio for light mold infestations.
- For stubborn mold, use a stronger mix of bleach and water in a 1:20 ratio.
- Pour the solution into a spray bottle and spray it directly on the moldy areas.
Step 3: Smooth and Protect the Wall
- Once the wall is dry, use sandpaper to smooth out the surface.
- Apply a layer of waterproof primer before repainting to prevent moisture from causing future mold growth.
Pro Tip: Ensure the room is well-ventilated while treating mold to avoid inhaling harmful fumes from bleach.
2. How to Fix Blistering Walls
Blistered walls are usually caused by trapped moisture, poor wall preparation, or using low-quality materials. Here’s how to repair them:
Step 1: Remove Damaged Paint and Filler
- Scrape off the blistered or peeling paint carefully.
- If low-quality wall filler is the cause, remove it completely and replace it with high-quality filler.
Step 2: Repair Small Blisters
- For localized blisters, scrape away the damaged area.
- Smooth the edges with sandpaper.
- Apply primer and repaint the area.
Step 3: Repair Large Blisters
- Remove the entire damaged section of the wall.
- Allow it to dry thoroughly.
- Reapply plaster, smooth it, and finish with primer and paint.
Step 4: Prevent Future Blisters
- Repair any wall cracks or leaks before repainting.
- Avoid painting during rainy or excessively humid seasons.
- Use matching primer and paint products from the same brand for consistent results.
Pro Tip: Proper waterproofing is essential during wall construction to prevent future blistering.


