Bathroom upkeep can feel overwhelming, especially when you notice cracked or worn-out caulking around your tub, sink, or shower. While these little gaps may seem harmless at first, they can quickly lead to water damage, mold growth, and bigger repair bills if ignored. Luckily, there’s a simple, budget-friendly trick my dad—a long-time DIY expert—taught me that fixes cracked caulking without the hassle of scraping it all out and starting from scratch. This method is straightforward, effective, and perfect for anyone wanting to keep their bathroom looking clean and sealed without a major project.
Why Cracked Caulking Happens
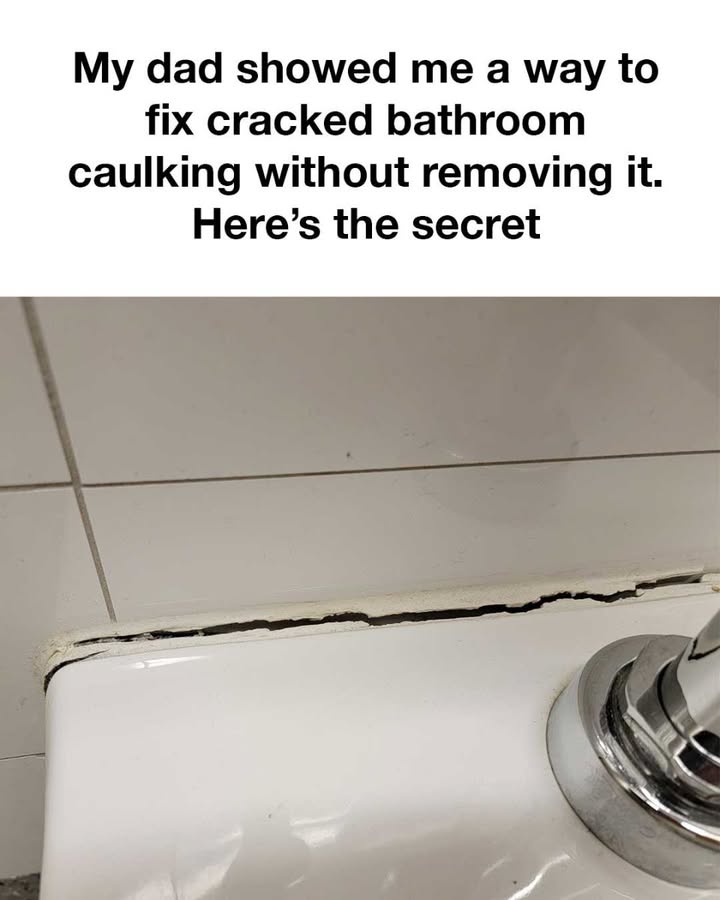
Caulking is your bathroom’s first line of defense against water sneaking behind tiles, tubs, or countertops. But over time, constant moisture, cleaning chemicals, and temperature changes cause caulk to dry out, lose its flexibility, and eventually crack. Once that happens, water can seep in, leading to hidden mold, peeling paint, or even structural damage. Beyond the potential hazards, cracked caulk just makes your bathroom look neglected, no matter how much you clean. That’s why it’s important to address the issue early before it turns into a costly headache.
What You’ll Need for a Quick Fix
The beauty of this method is that you don’t need fancy tools or professional skills. A few inexpensive items from your local hardware store will do the trick:
-
Silicone caulk (pick a color that matches your existing caulking)
-
Caulk smoothing tool or even the back of a plastic spoon
-
Utility knife
-
Rubbing alcohol and a clean cloth
-
Painter’s tape
These basics will help you get a smooth, neat finish that lasts, without removing all the old caulk first.
Step-by-Step Guide to Repairing Cracked Caulk
-
Clean the area: Start by wiping down the cracked caulk with rubbing alcohol and a clean cloth to remove dirt, soap scum, or mildew. This helps the new caulk stick properly.
-
Tape the edges: Use painter’s tape on both sides of the crack. This creates clean, straight lines and prevents excess caulk from smearing onto tiles or fixtures.
-
Apply the new caulk: Cut the caulk tube tip at a small angle and gently squeeze a thin, steady bead of silicone caulk directly over the crack. Make sure it completely fills the gap.
-
Smooth it out: Use your caulk tool or plastic spoon to press the caulk into the crack and remove extra material for a polished finish.
-
Let it cure: Allow the caulk to dry for at least 24 hours before using the shower or running water nearby. This ensures a strong, watertight seal.
Why This Hack Works
This trick is a time-saver because it reinforces the existing caulk instead of forcing you to dig it all out—a process that’s messy, tedious, and can damage surrounding surfaces if done incorrectly. Silicone caulk is designed to stay flexible, so the fresh layer bonds well to the old one while sealing off any cracks where water could sneak in. It’s durable, waterproof, and holds up well in high-moisture areas like bathrooms, giving you extra years before you need to do a full replacement.
Extra Tips for Best Results
-
Make sure the bathroom is well-ventilated during and after the job to help the caulk cure faster.
-
Always choose high-quality silicone caulk, not cheap alternatives that might peel or crack again quickly.
-
If the old caulk is moldy, crumbling, or missing in large sections, you may need to remove it entirely before applying new caulk.
-
Follow the instructions on your caulk tube closely, especially drying times, for a long-lasting finish.
Final Thoughts
Bathroom maintenance doesn’t have to be stressful or expensive. This simple repair method passed down from my dad proves that a quick fix can be just as effective as a full overhaul—without the mess or cost. By applying a fresh layer of silicone caulk over cracks, you not only improve the look of your bathroom but also protect it from water damage and mold growth. A few minutes of work today can save you major repairs down the road, keeping your bathroom clean, safe, and looking like new for years to come.